Work through this experiment with your kids using just a few simple ingredients:
- 4 jars
- food coloring
- white flowers (daisies, carnations, etc.)
- 24 hours
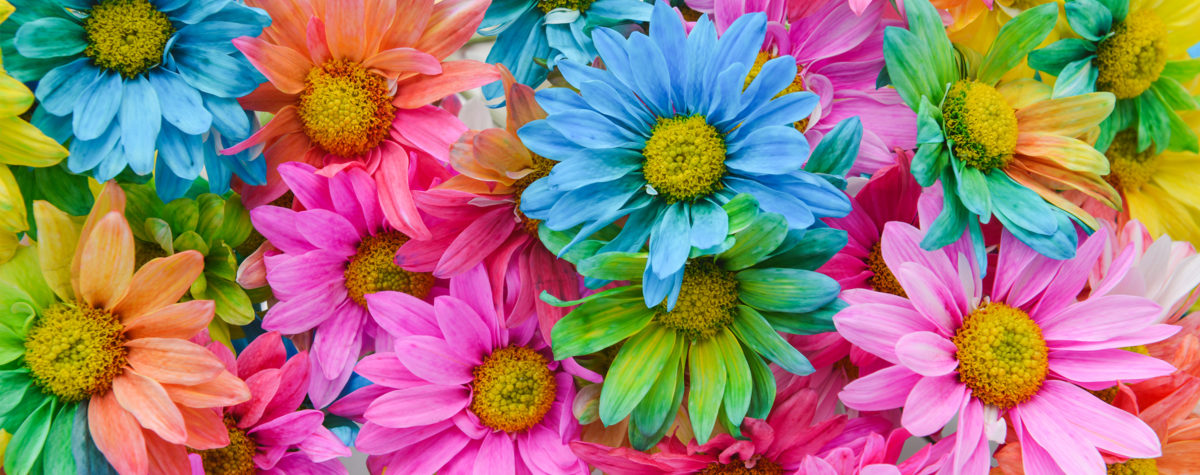
We chose to work with daisies, but any white flower will do for the color to show!
Directions
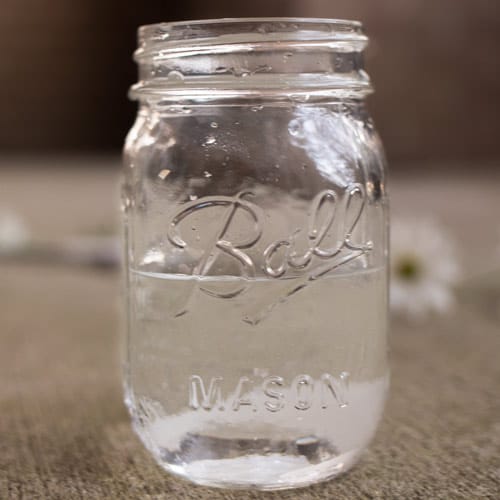
STEP 1
Fill each jar with cold water. It doesn’t matter how much you put in, but keep in mind you’ll have to add more dye if you have a fuller jar of water.
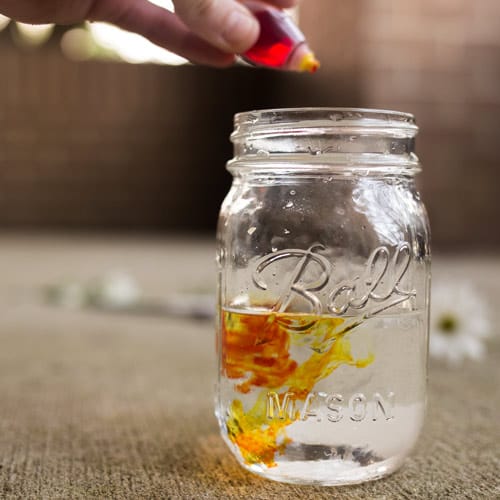
STEP 2
Add 20–30 drops as needed. The water may look very dark—almost too dark—but the more you add, the more your flowers will change color.
STEP 3
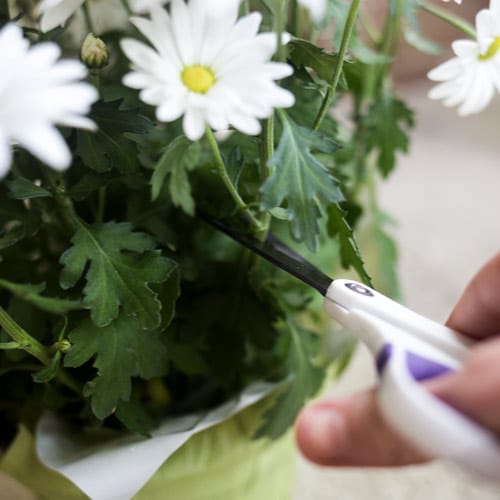
Make sure each flower stem is freshly cut before placing one into each jar (To help your flowers absorb the most water, use sharp scissors and cut the bottom ½ inch of the stem off at a diagonal.)
Something fun to try is to split a flower down the middle for a split-color result!
STEP 4
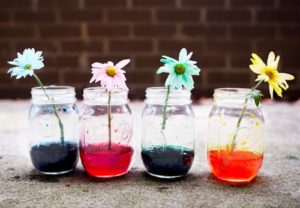
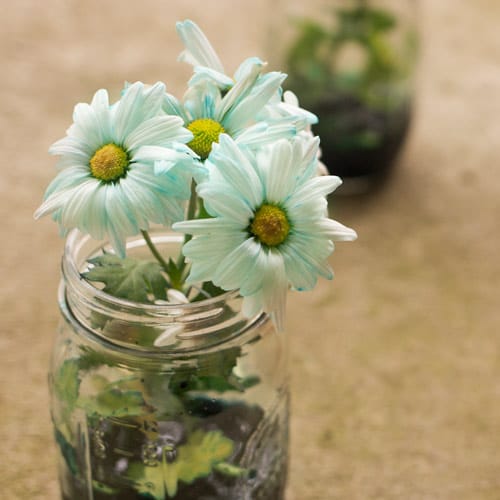
Let them sit out—we put ours on a windowsill.
You’ll probably begin to see results within 6 hours as the color creeps up the flower stem, but wait at least 24 hours to see the full results.
The Science Behind It
Flowers are covered all over with little holes called stomates.
They’re way too small to see—but they’re how the water evaporates through the leaves and petals through a process called transpiration.
Normally, a flower planted in the ground drinks water through its roots. But when a cut flower drinks colored water straight from the stem, the color travels up to the stomates.
This spreads the color to the flower’s leaves and petals, and voilà!


Comments for Simple Science Lesson: Dyeing Flowers
Add A Comment
Your email address will not be published. Required fields are marked *