Here’s what you need:

- The kite body—tissue paper, newspaper, a garbage bag—anything light!
- The kite bones—wooden dowels, bamboo sticks, chopsticks, or even straws.
- The tail—scraps of whatever you used to make the kite, at least three times the length of the kite.
Make the Cut

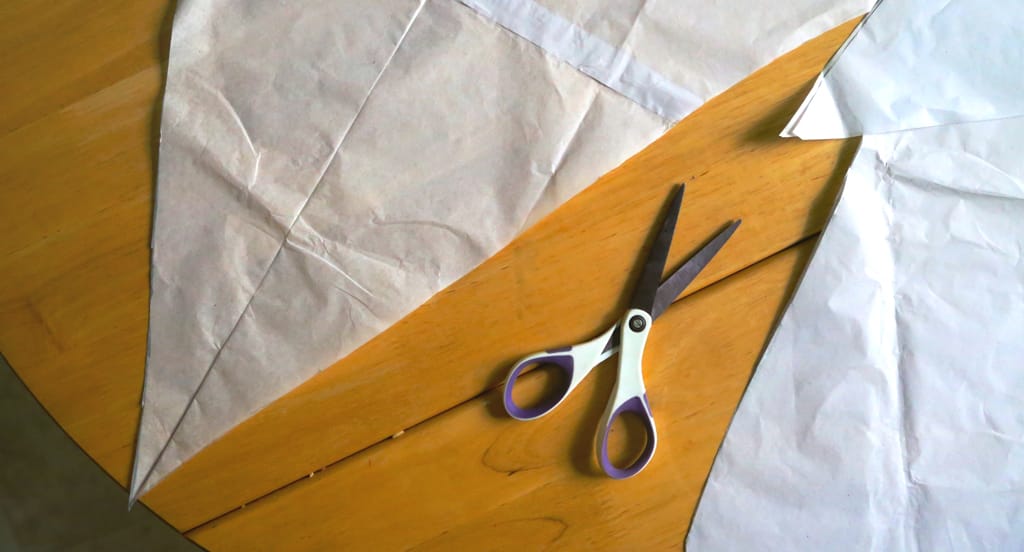
Fold your material in half. (We used tissue paper.) Then trace half of a diamond on the side closest to the fold. This will make the dimensions of your kite symmetrical.
Cut along the line you drew, then unfold your kite body.
Depending on the size you’re going for, you may need to glue a few sheets of paper together. Small kites work too, but you’ll get a lot more height with a bigger kite.
Decorate
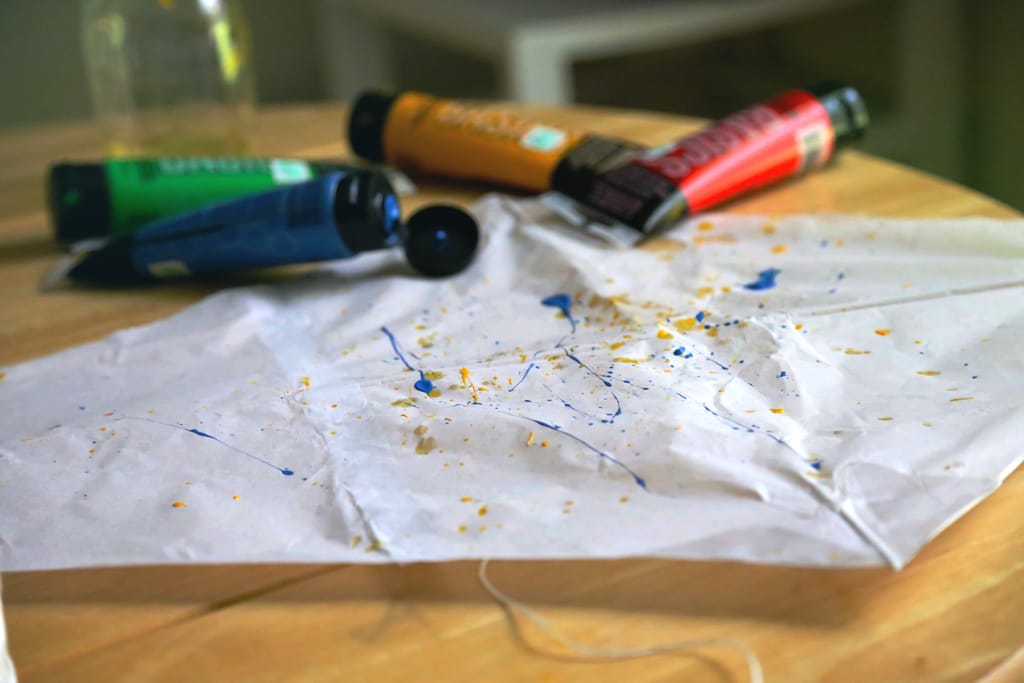
This is a great step for little ones, since it doesn’t involve measuring and cutting. Let them tape shapes on, paint, or color a design on the paper.
Tape
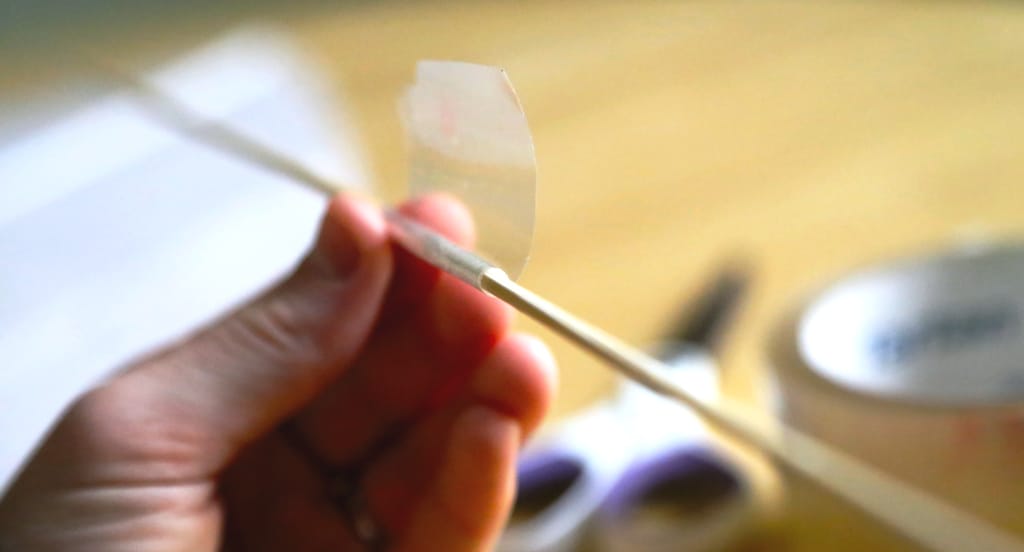
If you’re using tissue paper, reinforce the edges of your kite with tape to help it hold up better once it’s in the sky.
Tip: Electrical tape holds up best if you’re working with a garbage bag.
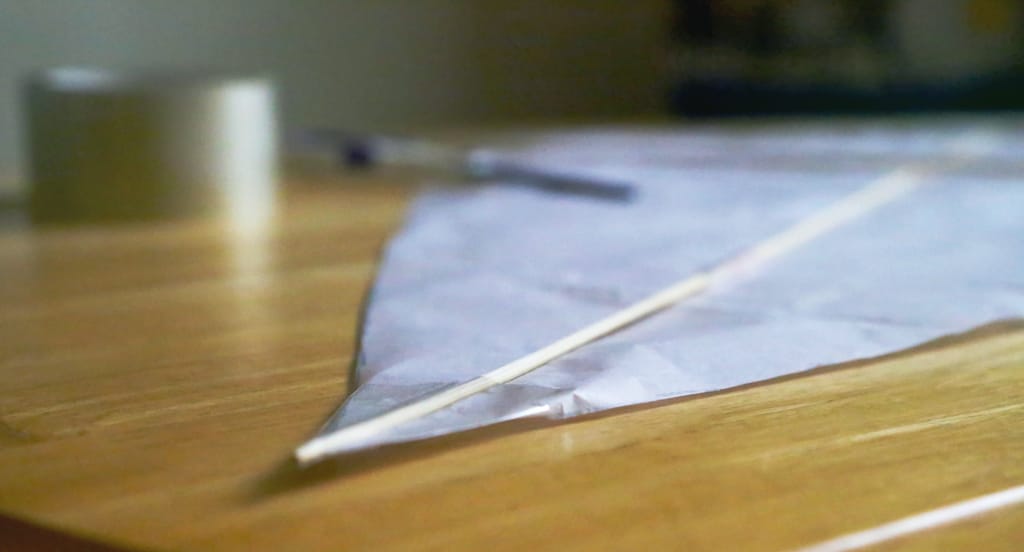
Next, tape the pieces of your “body” together (whether you’re using sticks, chopsticks, straws, etc.) so that the pieces fit your kite dimensions. You’ll need one stick long enough to fit the kite up-and-down, and another length for side to side.
Finally, tape these sticks onto the four corners of your kite.
Tie
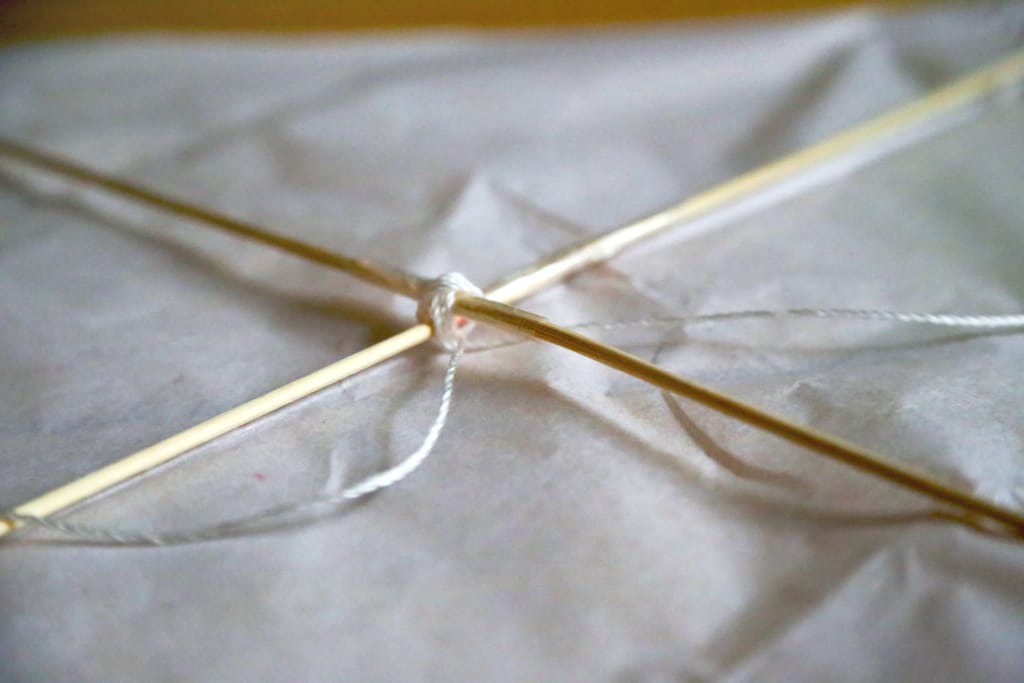
Where the horizontal and vertical sticks meet in the middle, tie them together with a piece of string.
Then cut three more pieces of kite line and tie one at each of the three top corners of the kite.
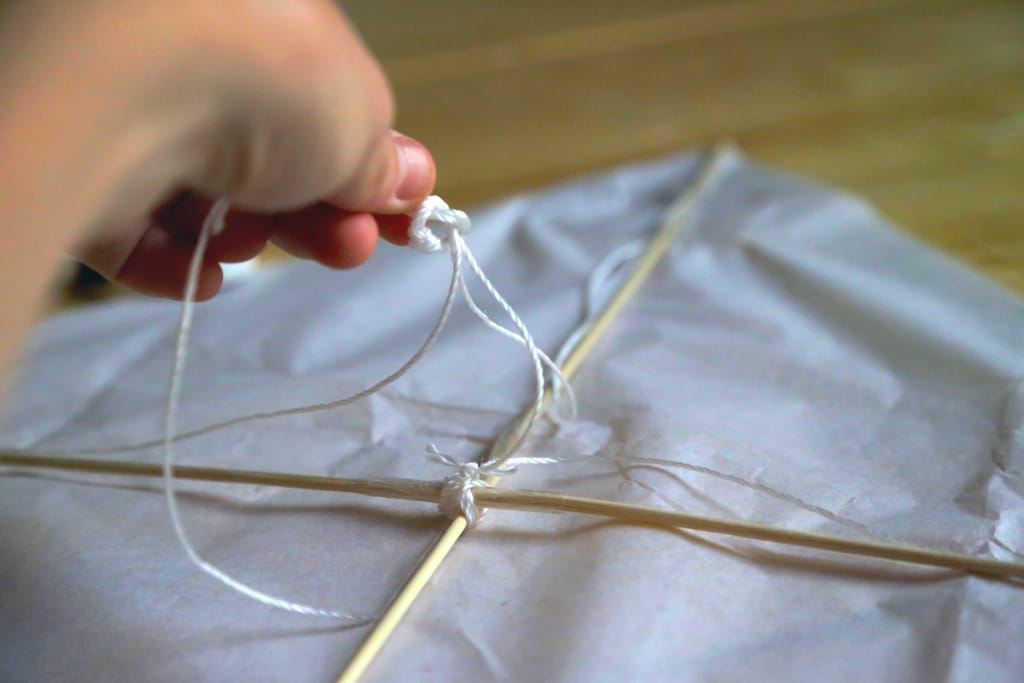
Knot these three strings about 6 inches out—above where your sticks cross. Doing it like this instead of attaching string directly to the kite will allow more wind to catch on the surface, so your kite flies better.
Trim the ends of the string. Then tie your kite line securely to the knot.
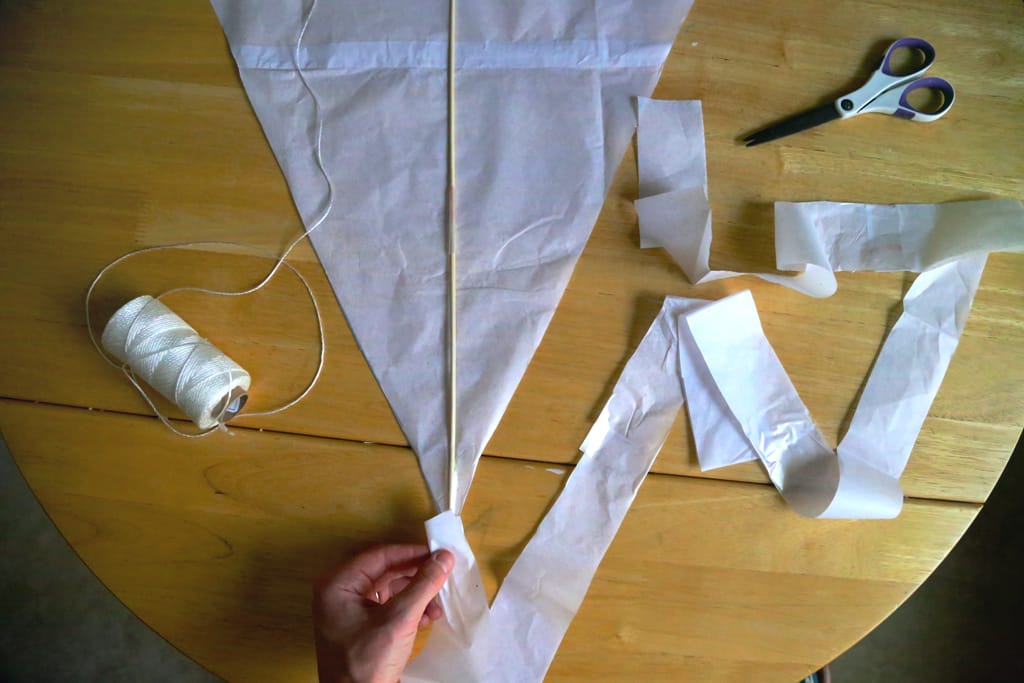
Attach the tail of leftover tissue paper, garbage bag, etc., to the bottom corner of your kite. Remember, try to make it at least three times the length of your kite.
Set it Free
Now it’s time to let the kite go!
A few pairs of hands are helpful for the release. Have someone hold the kite up against the wind, while another hangs on to the kite line. If the wind isn’t very strong when you’re trying to fly, you can give your kite a little help with a running start.
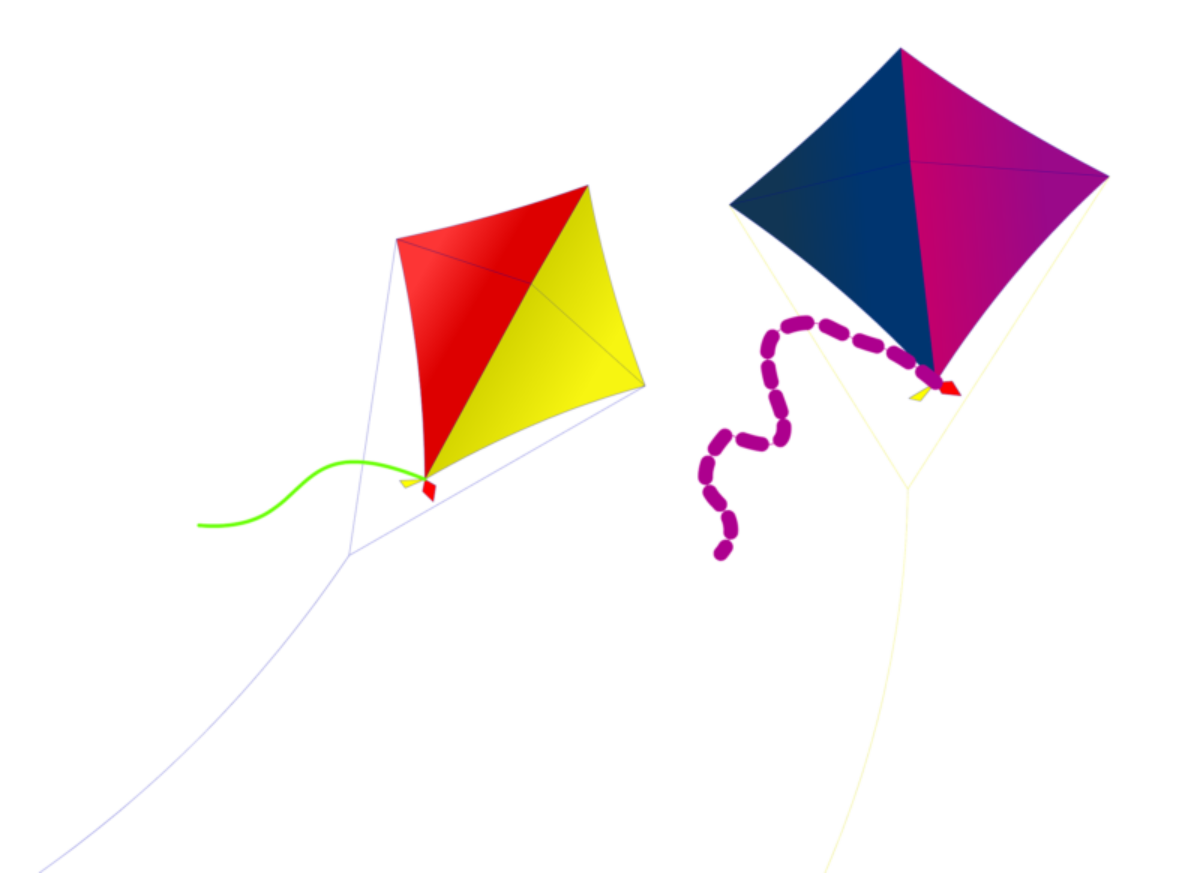
You’ll see lift and drag make your kite fly. (Lift happens when your kite is perpendicular to the wind. Drag happens when your kite is parallel to the wind.)
Don’t be discouraged if you have to troubleshoot—you might need to reel the kite back in to re-tape something or to adjust the tail. Have fun!

A kite is a great way to get your child thinking about aerodynamics and other STEM concepts.
SHOP SCIENCE NOW


Jayden:
April 15, 2020cool!
Reply to this Comment