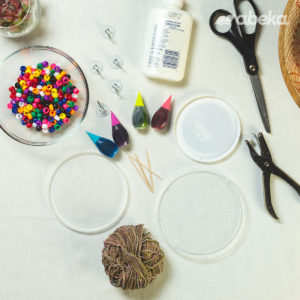
Materials
- Plastic food lid
- Glue
- Food coloring
- Toothpicks
- Hole Punch
- Scissors
- String
- Beads
- Tape or suction cup hooks (for hanging)
Instructions
Step 1: Pour a layer of glue into your lid.
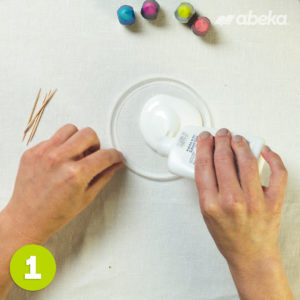
Step 2: Put 4 – 5 drops of food coloring around the glue. A large lid may require a couple more drops and a smaller one will need fewer.
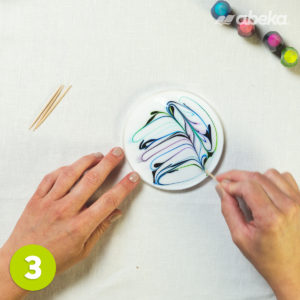
Step 3: Swirl the colors around with your toothpick a few times. Set the lid aside to dry. The process will take a few days (depending on the size of the lid and how thick the glue is) and the colors will continue to change as the glue dries. It is fascinating to watch!
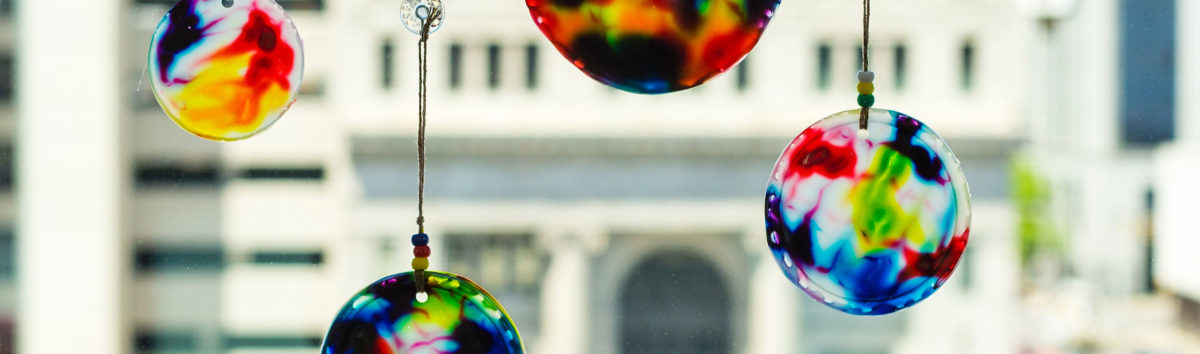
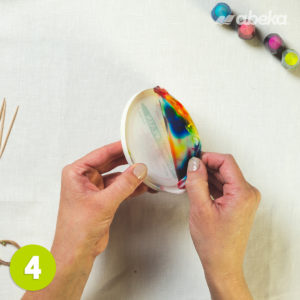
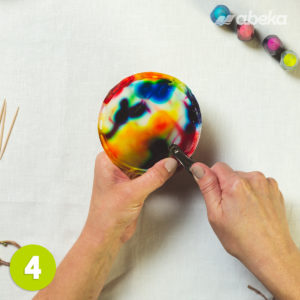
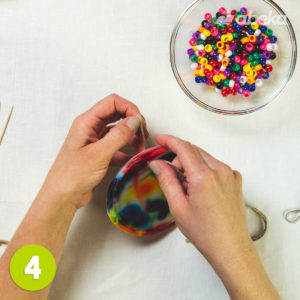
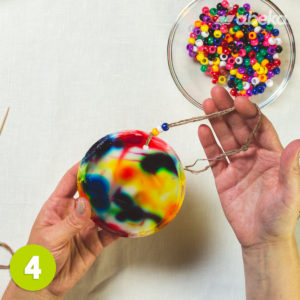
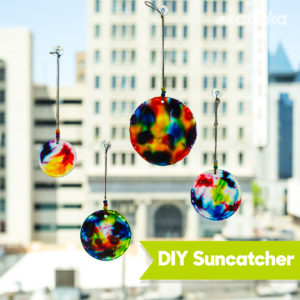
Step 4: Peel the suncatcher out of your lid once it is dry and punch a hole in the top with your hole punch. Thread some string through the hole and add some beads.
Step 5: Hang your suncatcher in a window with tape or suction cup hooks.


Karen Wildfong:
July 9, 2018This looks so cool. This craft will go great with tie-dye shirts!
Reply to this Comment
Galvanmom:
July 11, 2018Love this idea. I'll want to make one with the kids too. Lol.
Reply to this Comment