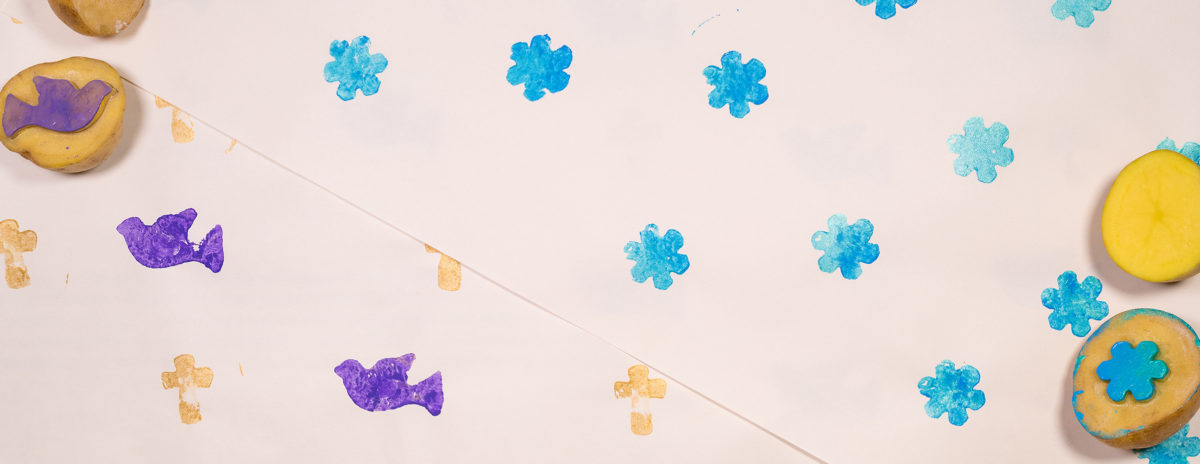
Cut and carve an image, or use a cookie cutter, into a slice of potato to print onto craft paper. Use the paper to make your own DIY wrapping paper. The prints can also be used to make Christmas cards.
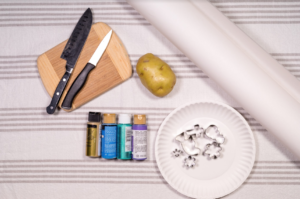
Materials
White craft paper
Potatoes
Acrylic paint
Knives
Cutting board
Paper plate
Cookie cutter
Steps
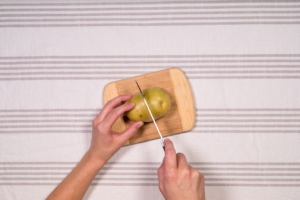
Step 1: Slice a potato in half.
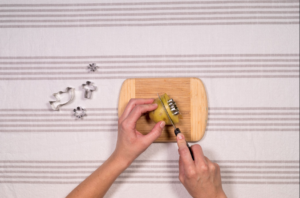
Step 2: Use a cookie cutter and press it in about halfway into the potato.

Step 3: Use a knife and slice approximately ¼” around the potato.*
Step 4: Peel away the cut piece from the cookie cutter.
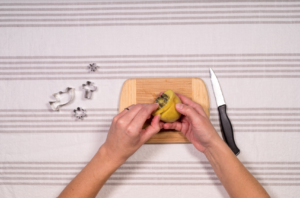
Step 5: Clean up the edges around the cookie cutter with a small knife to remove any excess potato*

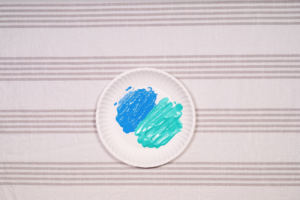
Step 6: Squirt a thin layer of paint onto a paper plate.
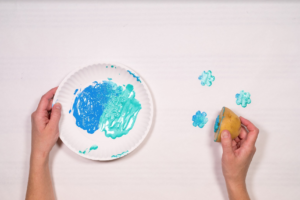
Step 7: Dip your potato stamp into the paint and begin printing it around the paper.
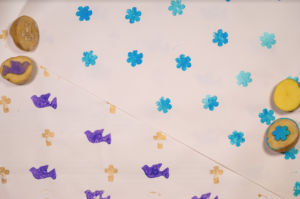
We’d love to see your homegrown creation! Make sure to tag your pics with #abekacrafts


Rocio Martinez:
December 6, 2018Hi, I am interested in homeschooling my 9th grader, and I am considering abeka, but I have questions. She is in High School right now but I want to withdraw her from school at the end of this semester and have her homeschool for the next semester but I don't want her to lose any of her credits from this current semester in case she goes back to public School in the next year or so. If I get her abeka for next Semester:
DOES SHE NEEDS TO GET THE SAME CLASES SHE HAS RIGHT NOW IN ORDER TO GET THE FULL CREDIT AT THE END OF YEAR?
AND HOW DO WE GRADE HER WORK?
I AM NEW AT THIS IS YOU CAN HELP ME WITH THIS TWO QUESTIONS I WOULD GLADLY APPRECIATE IT.
THANK YOU
Reply to this Comment